 用APP打开
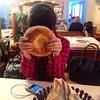
蜂蜜千层饼
用料
蜂蜜千层饼的做法步骤
烧水。水开了以后 use a pan, 把黄油,砂糖和蜂蜜一起搅匀到华油融化位置。

现在, 加入baking soda.
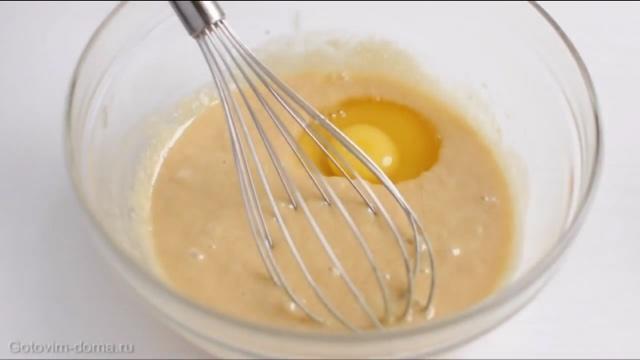
一个一个的加入鸡蛋。搅拌均匀。
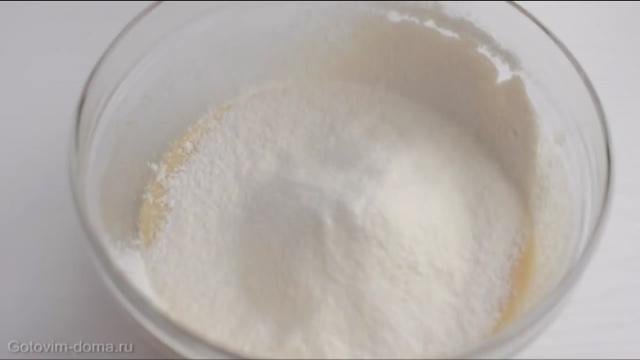
慢慢的一点一点加入面粉。Now you need to control it visual, if the shortcake dough is ready or not. 如果面粉加入较稳糊中,那你会需要多一点的面粉。如果你等 糊 凉了再放入那会需要少一点面粉。而且 成型的dough 考出来会软一点。
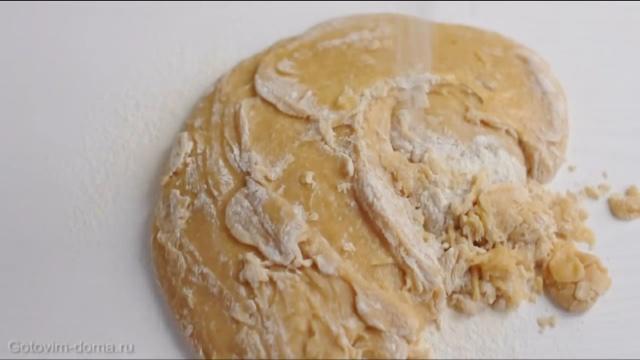
是这个样子。现在用塑料薄膜包好,冰箱里放30分钟。然后再拿出来 和面。
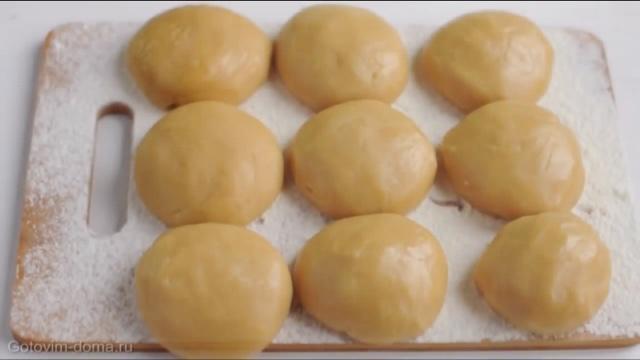
切成一样的9个..解释能力有限啊。i think you understand me.
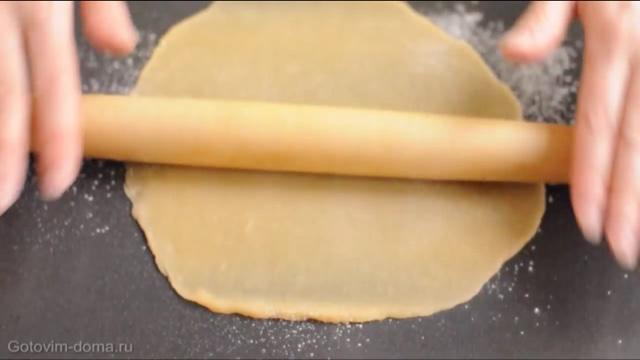
Now, roll the dough. It looks like this. Roll is 滚?可以用roller或者可以用你的手心
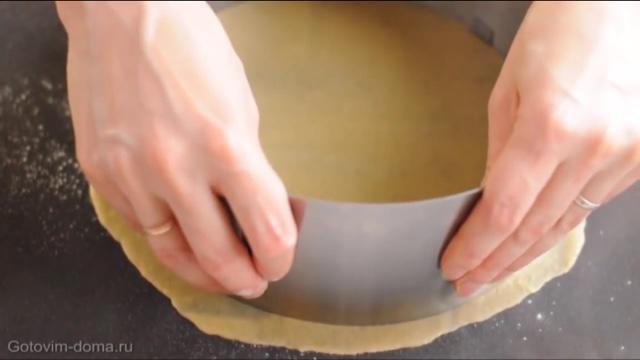
And use the cake form or something that you have to cut the so the dough is round and pretty. 不要把多余面团去掉。我们要把它们用来做最后一步。不要吃掉哦

烤3-5分钟。9个要一个一个来考。

存好

Now! 接下来要做的就是cream。大碗里加入 300g黄油用mixer搅拌均匀后加入适量炼乳,一直到加入全部的炼乳位置。
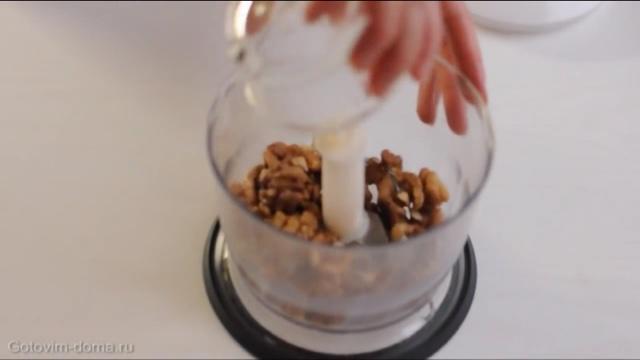
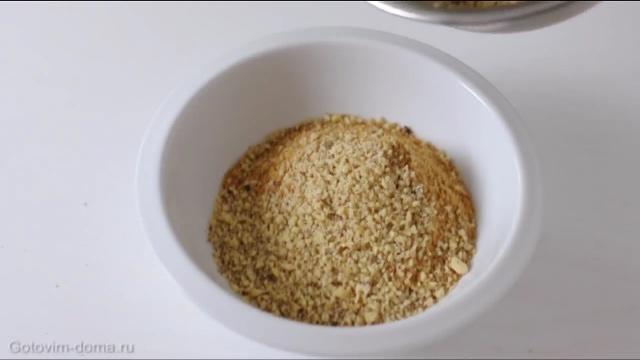
用blender搅碎核桃和多余的shortcakes。把它们一起搅匀备用
像这样

用一点做好的cream来涂抹在上面。
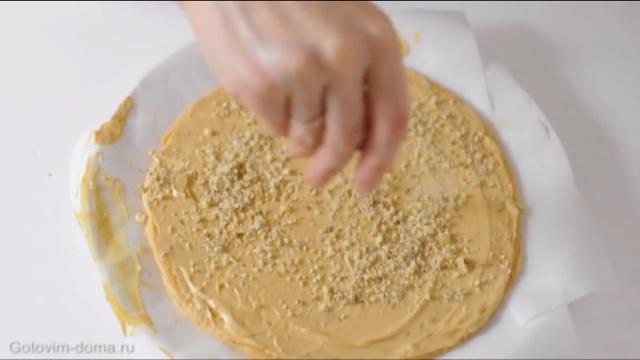
撒一点准备好的核桃和饼粒沙...我不知道怎么说这个。
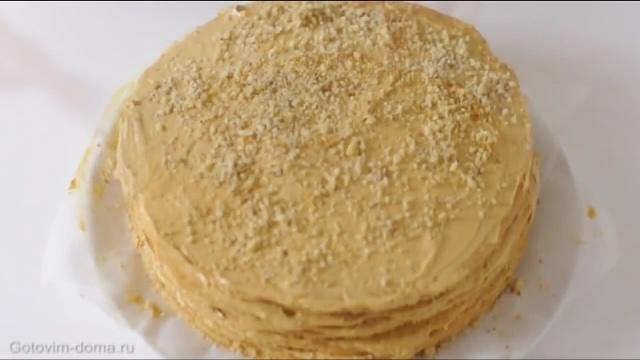
像这样 一个一个的来
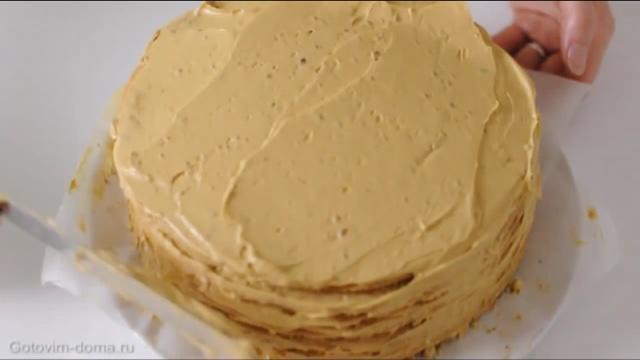
最后 把剩下的cream都均匀的涂抹在蛋糕上。

现在做这个。看图片应该懂了吧。i am sorry for my Chinese.
Like this. Cover up all. 放在冰箱里let it cool for 5-6个小时。

完成。Bon appetite!
蜂蜜千层饼的小贴士
The pictures I used for this recipe is not my own, except the last two photos. The cover photo is my own cake. I hope you enjoy it.


作者的其他菜谱


被大家加入到以下菜单


